What Can I Do with Stabilizers? - A Useful Guide for Tuning Stabilizers
によって Freya Tong オン Jun 30, 2022
Why do I need to tune stabilizers?
Stabilizers are designed to help the large keys to keep balance on mechanical keyboards. Some stabilizers that are not crafted well, however, can be annoyed by its rattling structure, clinky sounds, and even failure in re-bouncing. All these trivia can be improved by tuning the stabilizers themselves.
What are the ideal stabilizers?
To be an outstanding stabilizer, it has to be with the following requirements:
With the following feature, the stabilizer can be satisfactory:
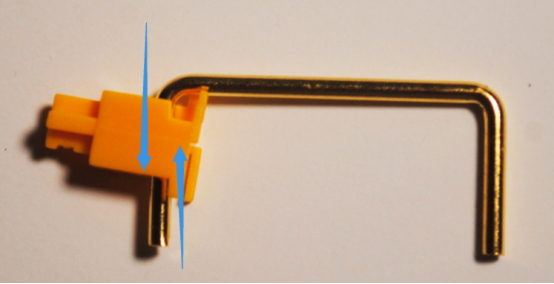
- A straight wire, with complete 90° at the corner. and all parts of the wire are co-planar.
- The corner of the wire is snapped just into the housing, without extra wobbling.
- The stem and housing are intact without any crack or damage.
- The highest and the lowest points of the stabilizer are the same with the switch in the middle.
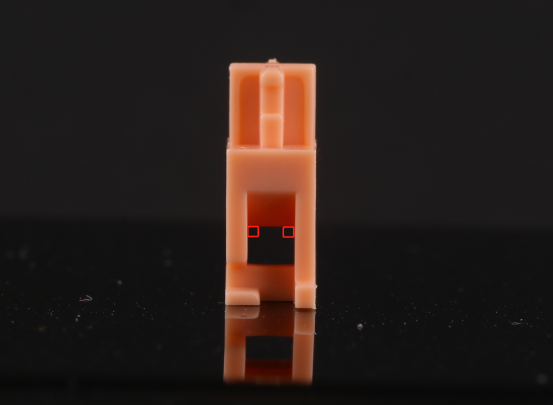
Bonus! With the following feature, the stabilizer is one step ahead:
Buffers in the stem (Red squares in the photo), which ensures the wire to stay in the center of the stem.
How to tune stabilizers?
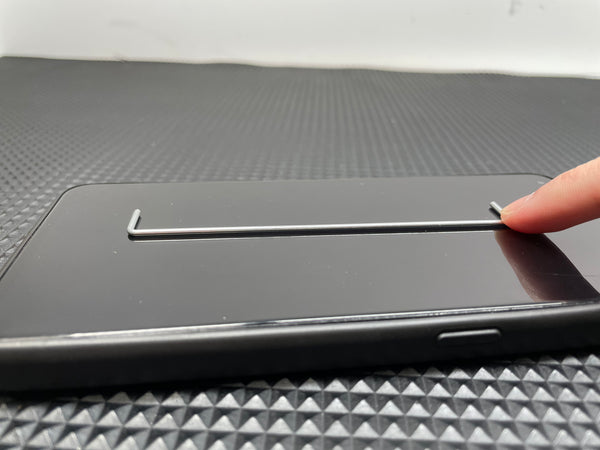
The Wire
In most cases, clinky sounds are caused by wires that are not co-planar. We can check the wire by putting it on a completely flat surface - a smart phone screen for example. It can be observed clearly on the surface, or we can test it by pressing a finger to one side to see if some part is warped. If the wire is not completely co-planar, we can bend it straight by hand or pliers. When using pliers, be minded that the metal part needs to be taped to avoid scratching the wire.
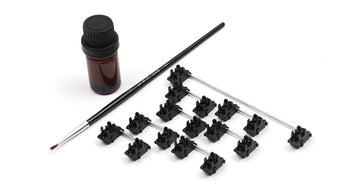
Lubing Stabilizers
Every contact points in the stabilizers are fatal, as with every stroke, they could damage by keeping contacting and thus grow a rough feeling after long-time usage. Lubing the stabilizers can greatly reduce the damage that could be caused by frequent contacts among the stem, the housing and the wire.
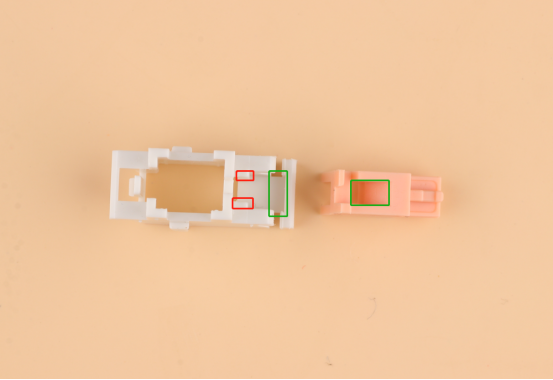
According to the theory above, we need to apply lubricants to every contact points in the stabilizers: where the wire hits the stem, the stem to the housing, and the wire to the housing. So we have concluded some lubing places as shown:
- Put more lubricants into the marked green part, while few to the marked red part:
- After lubing the stem, insert the wire into the lubed part of the stem. With this step, we don’t need to lube the wire again.
- Assemble and test the stabilizers. If the typing and sounds are clean, then we finish tuning the stabs.
- If there are clingy feeling when testing the stabilizers, then check if the housing is glued with lubricants. If there are, just wide it off.
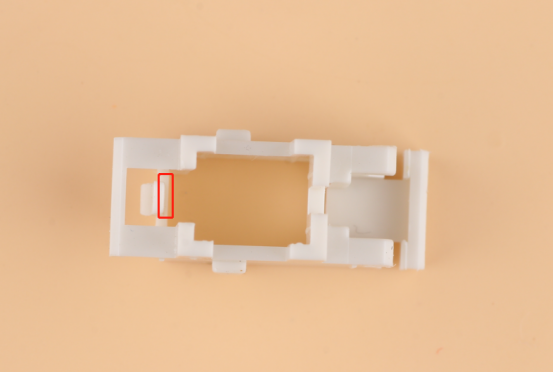
- If there are still clinky sound from the wire, then check if the stem and the housing has adequate lubricant and add some more to the marked areas:

- Test several times until the typing feeling and the sound reach your requirement.
Tuning stabilizers can be a time-consuming work which also requires patience, but it’s also part of fun in mechanical DIY keyboards. You will grow a sense of achievement when you tune your own stabilizers, and feel how remarkable they are when typing. Time to upgrade your mechanical keyboard!